How to Make a Origami Dress Step by Step
An adorable origami dress card from How About Orange has been floating around Pinterest for a few weeks. I thought it was so much fun that I made a variation of it for this week's make-and-take at MLO.
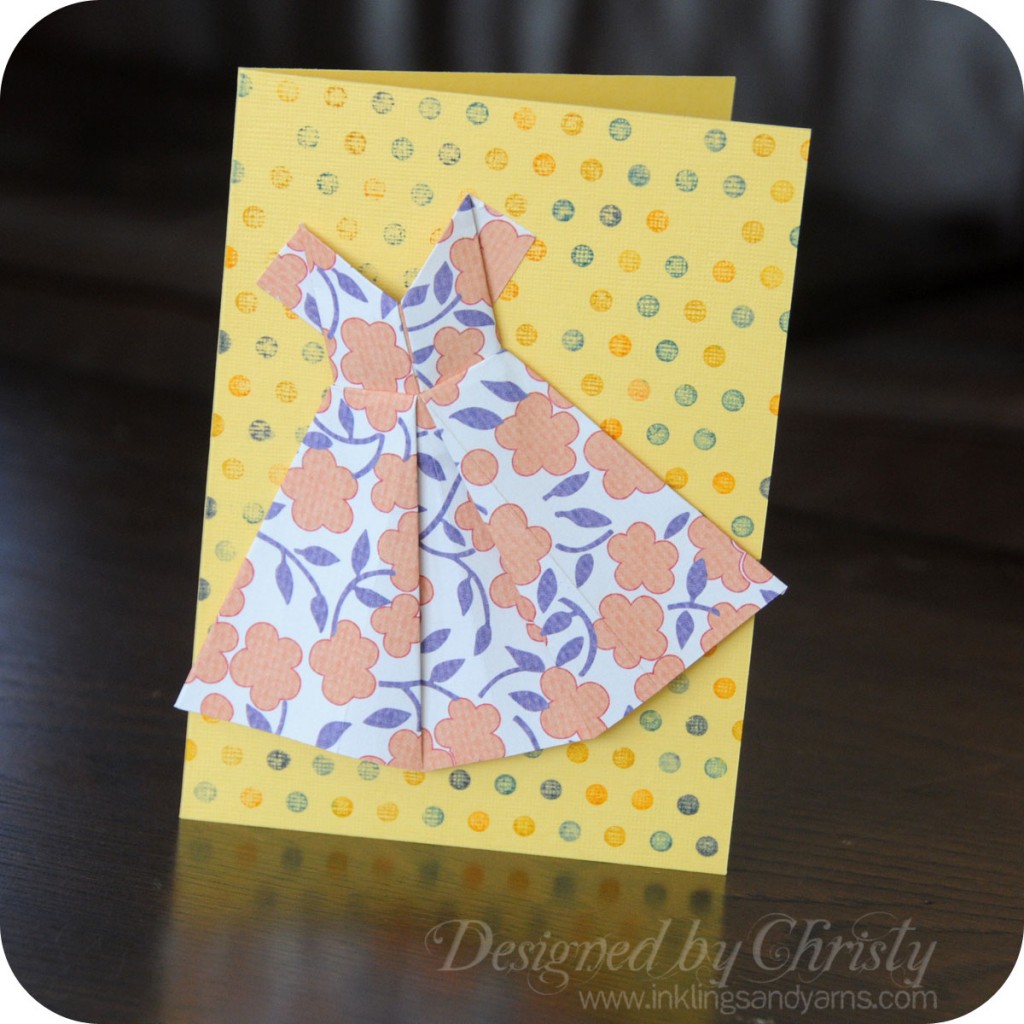
I cut 5 inch squares from thin scrapbook paper–a lot of scrapbook papers are too thick for origami, so make sure you find something not much thicker than copy paper. The pattern I used is Apron Strings from Jenni Bowlin.
It's such a fun design for a wedding or shower or anything girly. But I like it best as a housewarming card. Just write on the inside, "Congrats on your change of a-dress!" I crack myself up.
A few people requested written instructions so they could recreate this card at home. There is a video tutorial available, but I also typed up step-by-step instructions. The tutorial is long and very detailed, so I put in a jump break for those of you who just want to keep scrolling for pictures of Al or other crafts. If you want to see how this is made, click below.
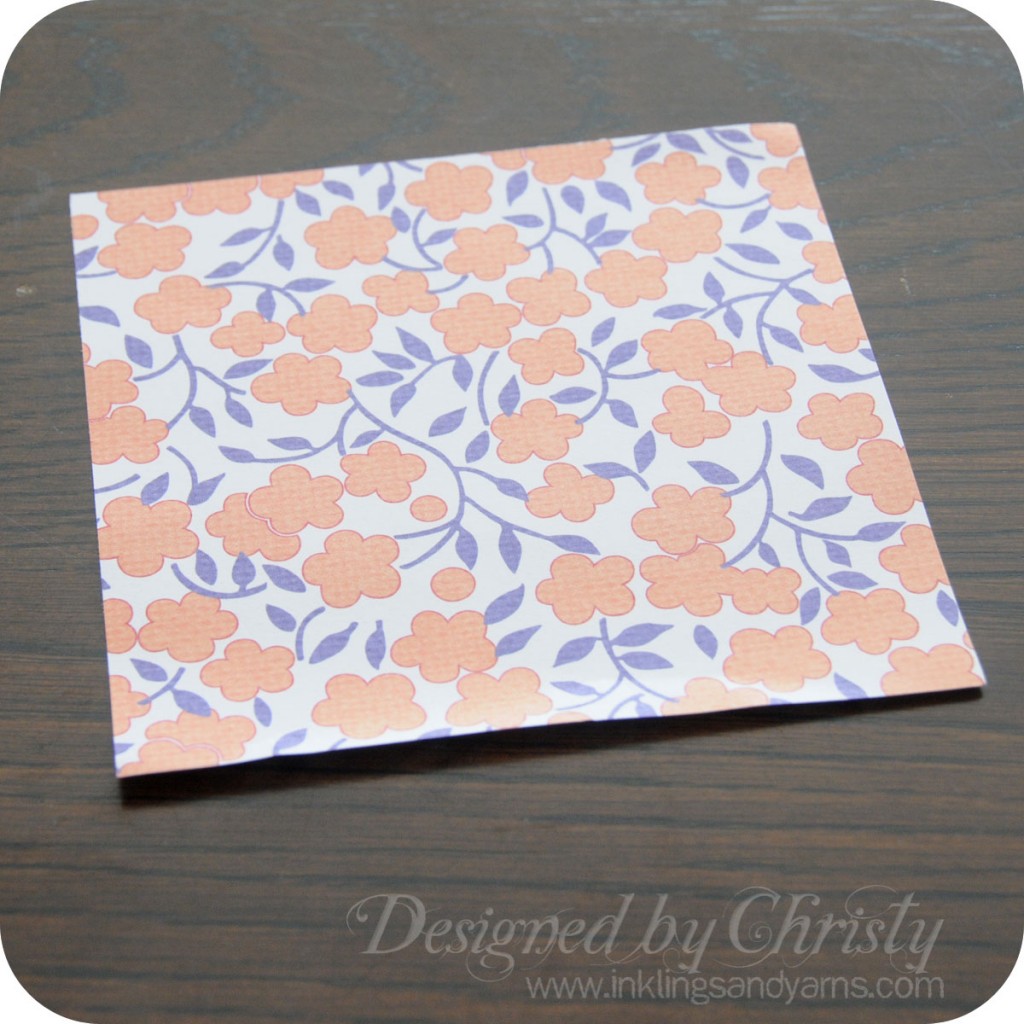
Start with a square of origami paper. This one is 5 inches square, and the resulting dress fits on a standard A2 card.
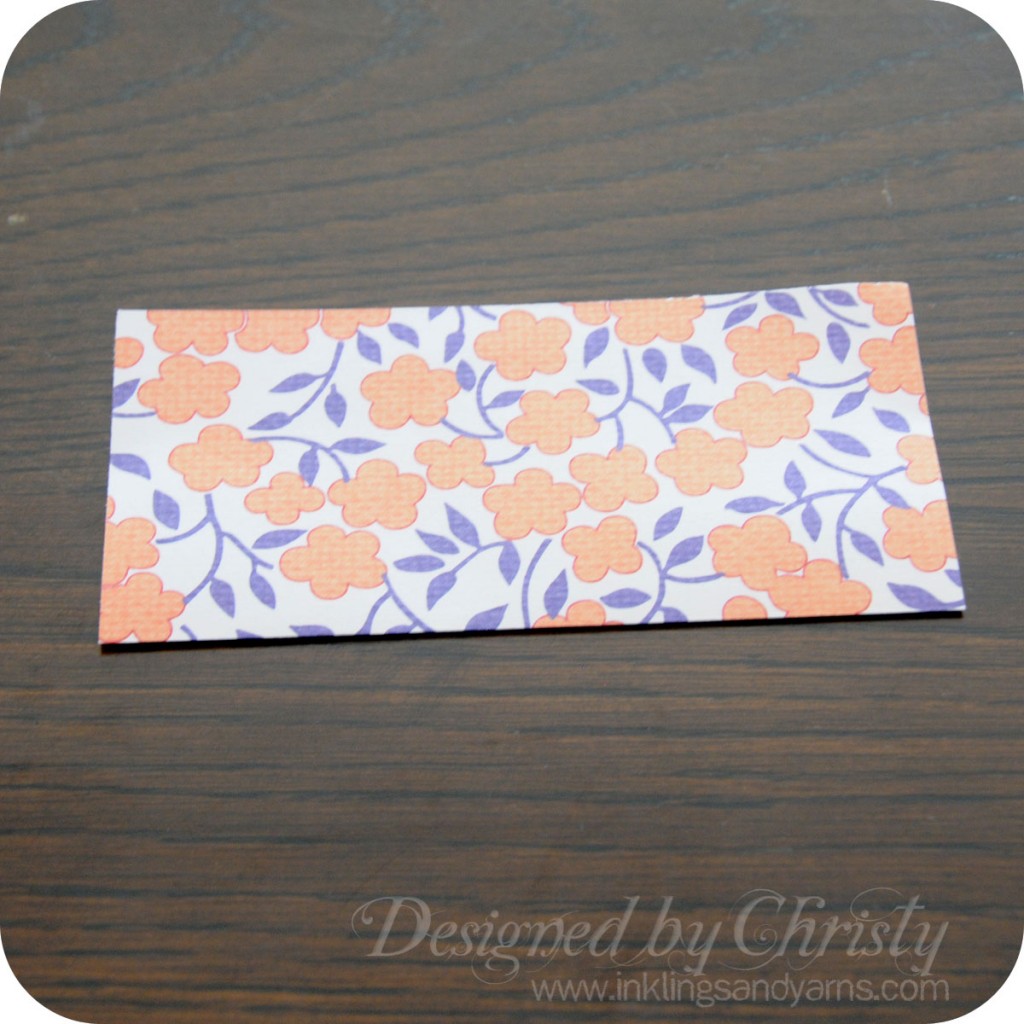
Fold the paper in half with the pattern on the outside.
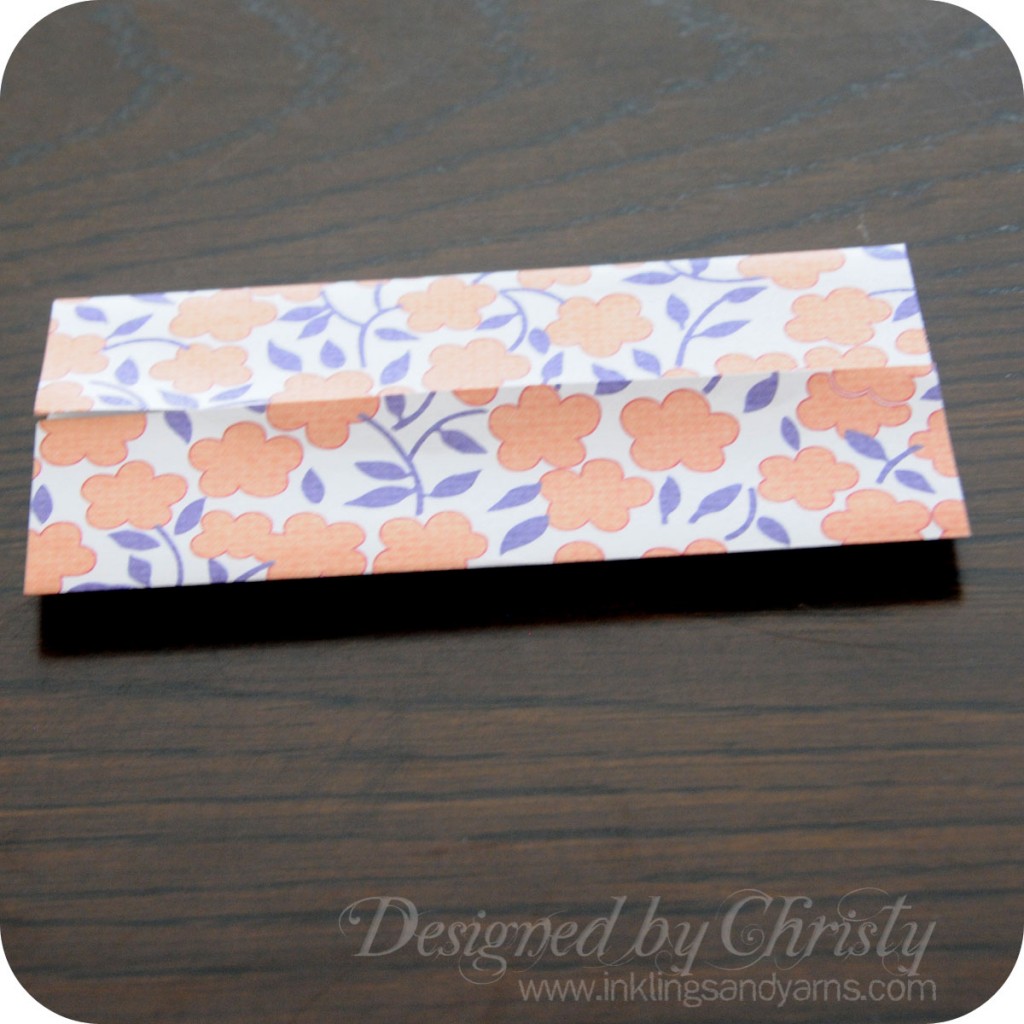
Open the paper, then fold each side in to the center crease you just made. Crease well and open the paper again.
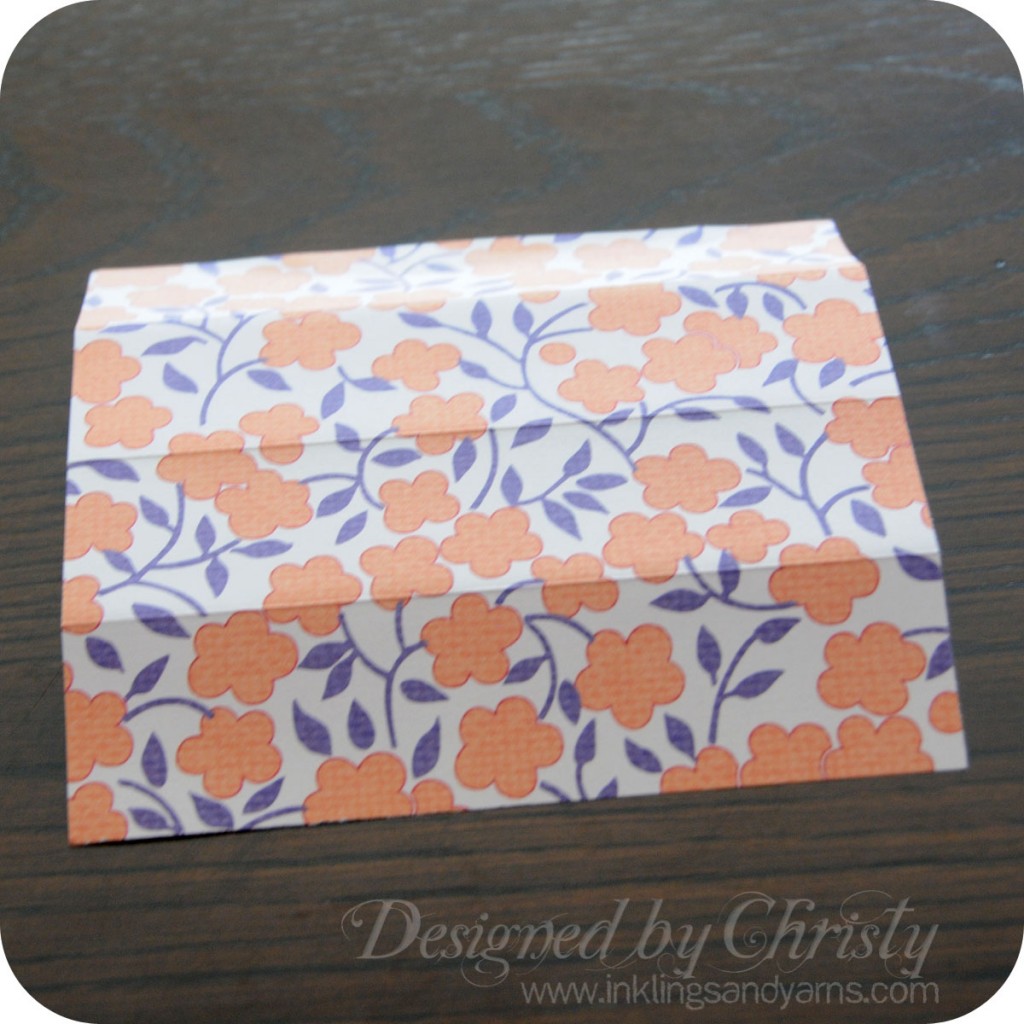
Your paper is now divided into fourths.
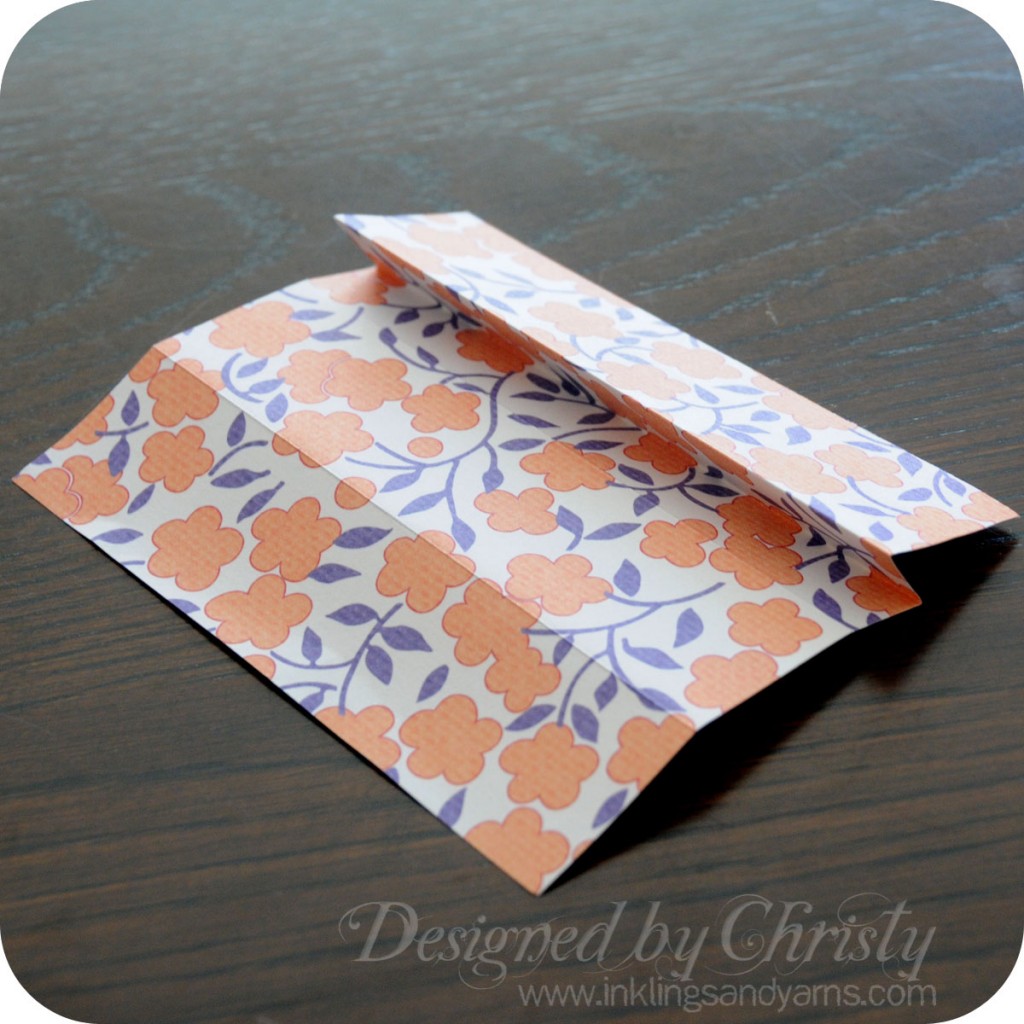
Now, fold each side crease into the center crease.
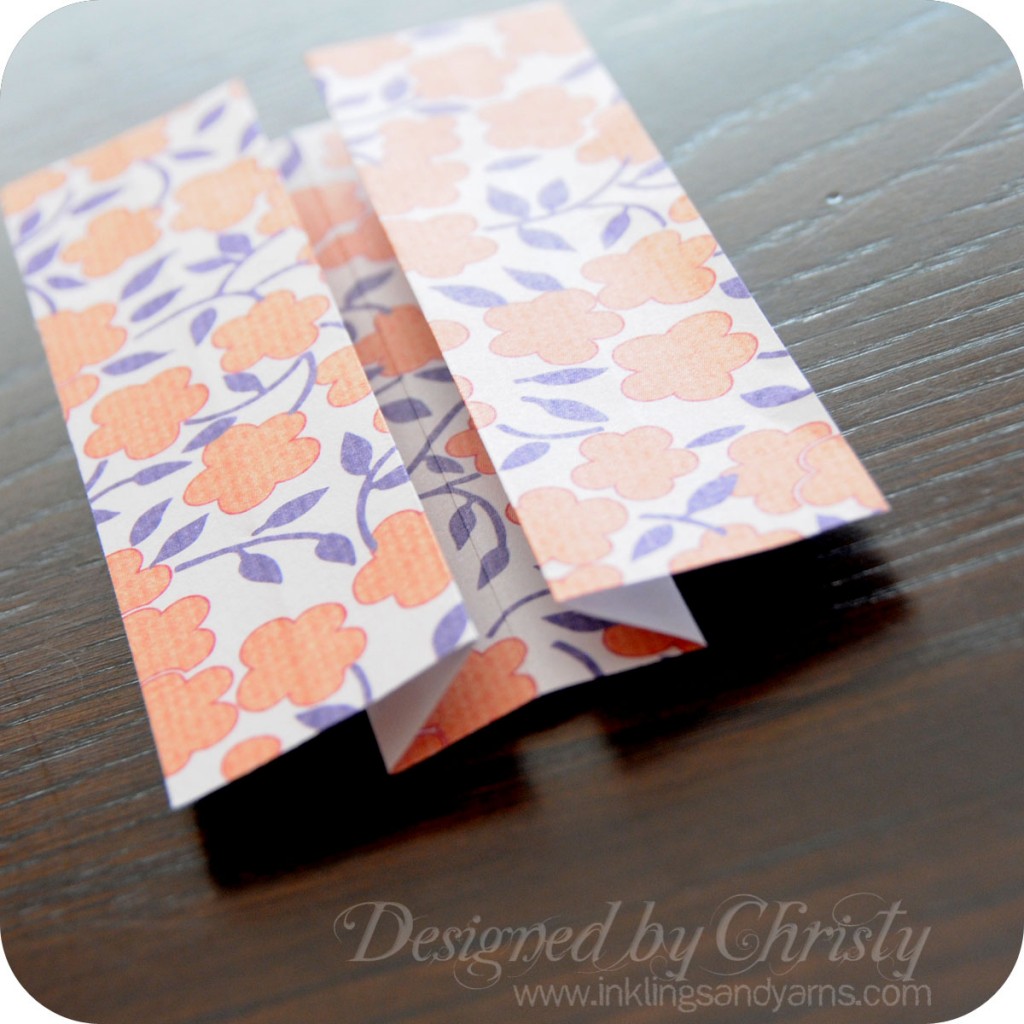
By the end of this step you should have what looks like a trough.
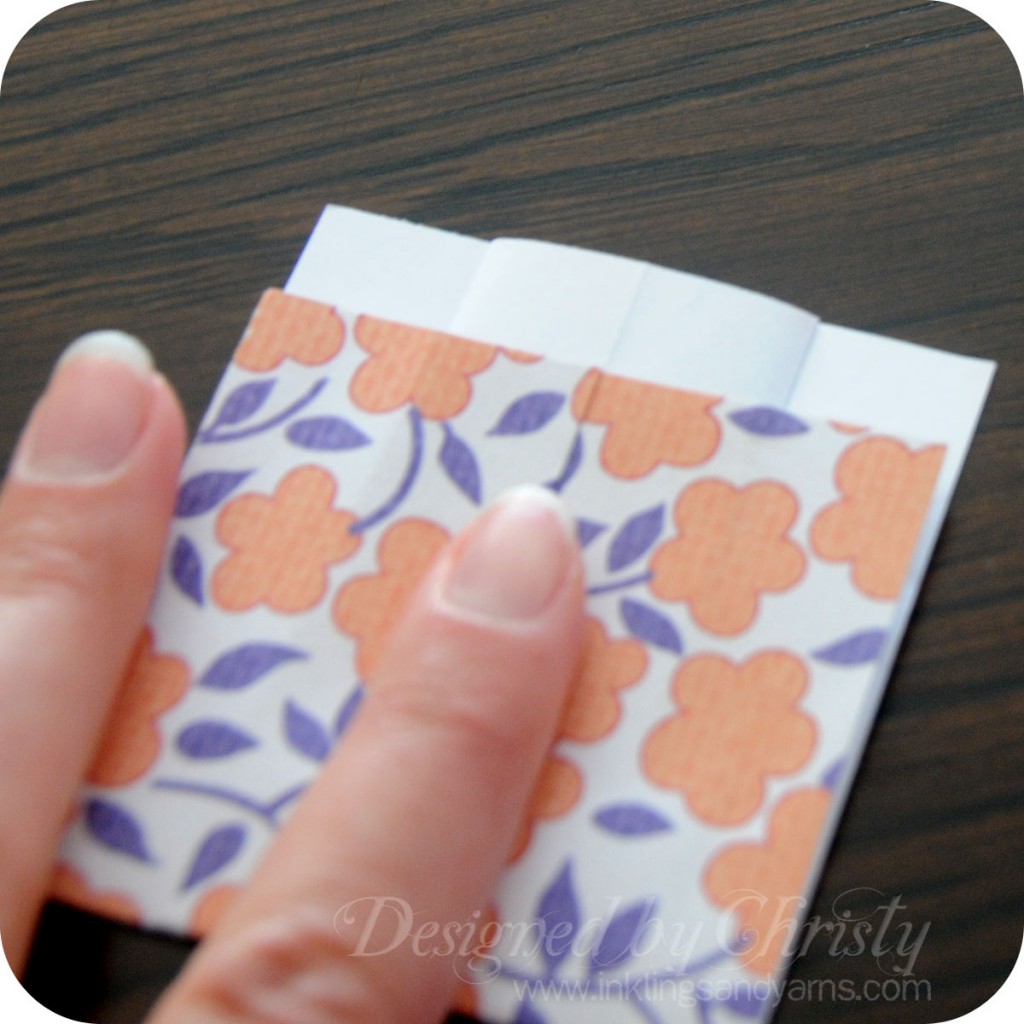
Leaving the paper folded the way it was in the last step, flip it over and fold not quite in half. You want about 1/3 of an inch or the width of a fingertip difference at the top.
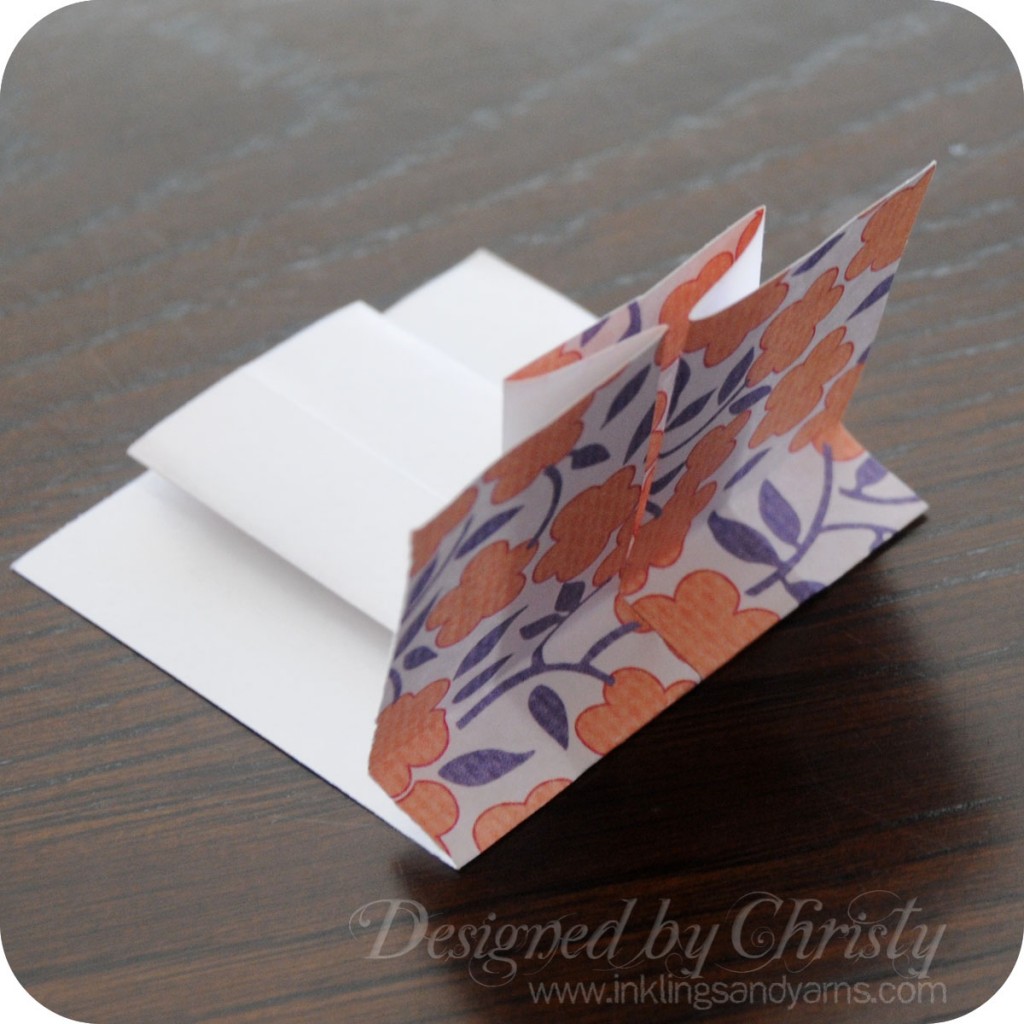
Now fold the shorter side down, another 1/3 inch or fingertip width from the crease you just made.
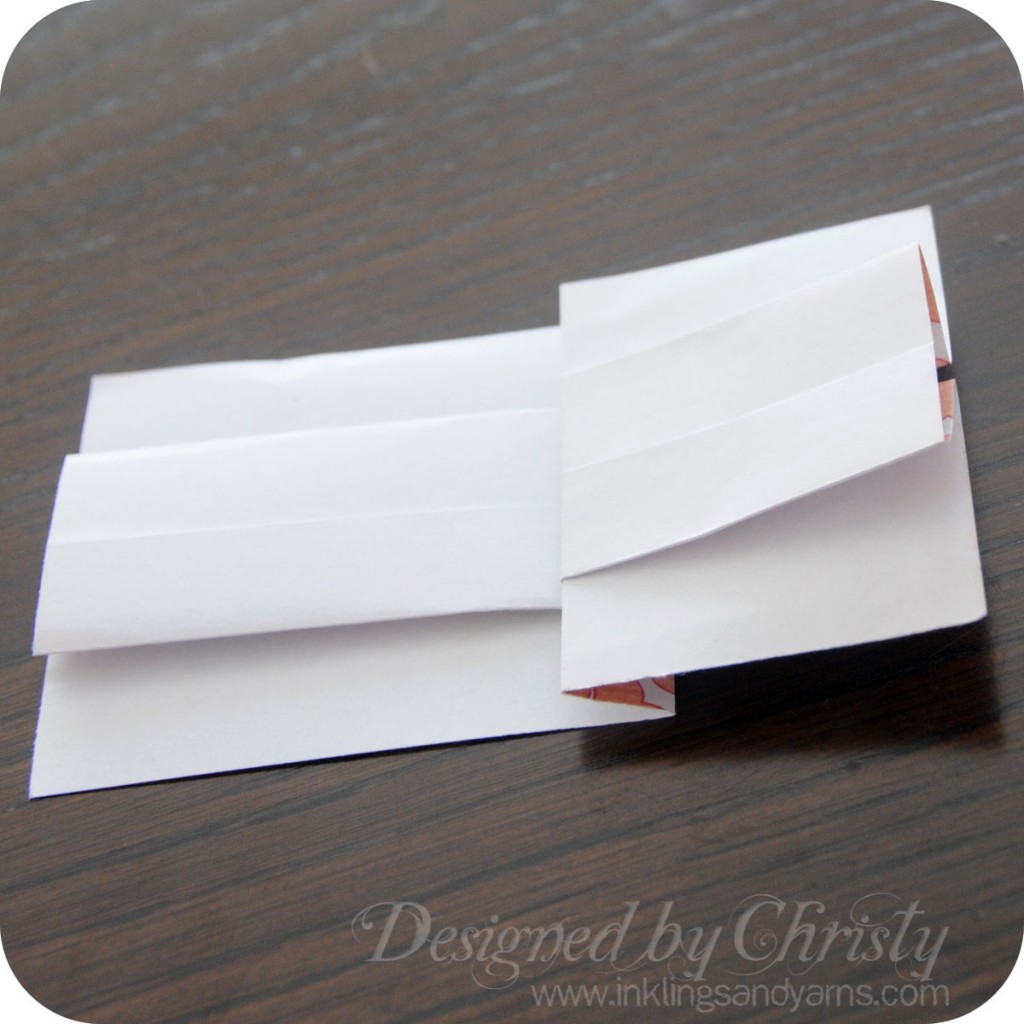
This is what your paper will look like from the back.
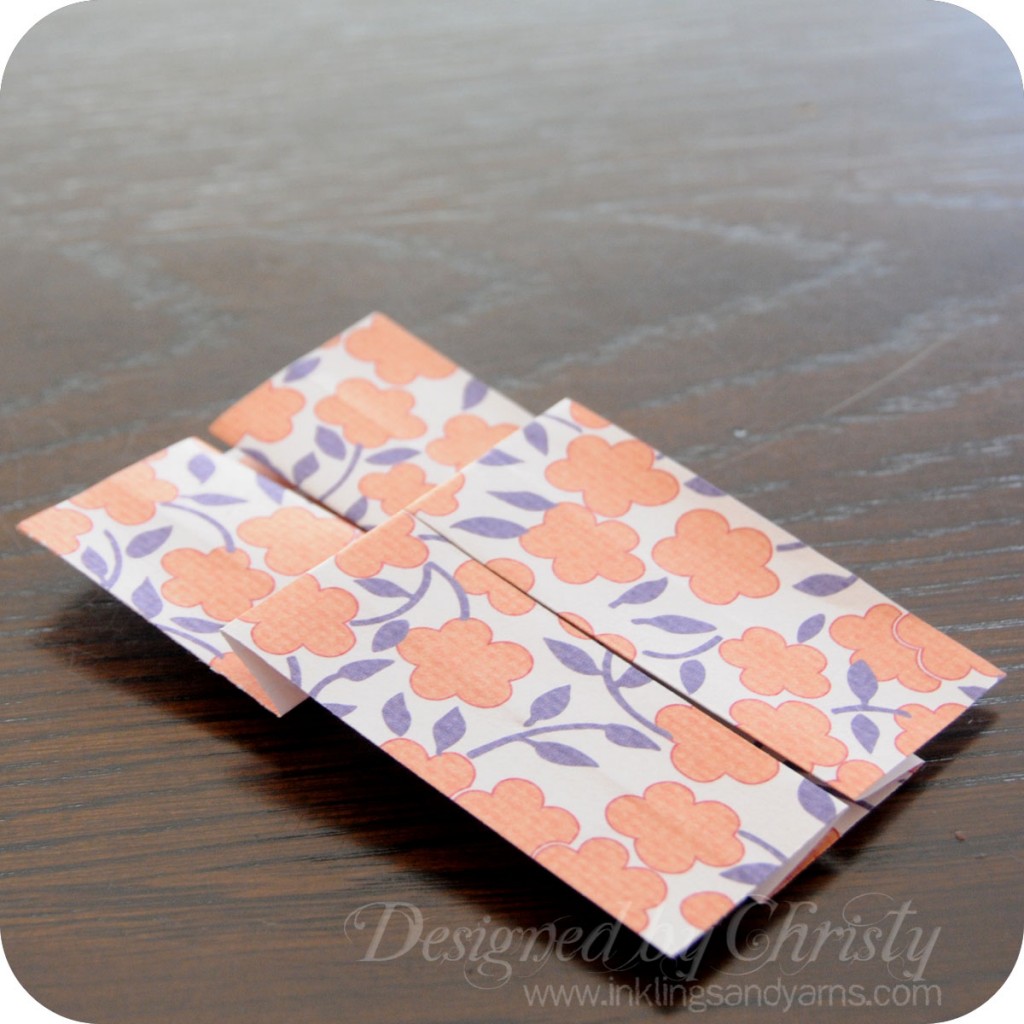
Flip it over. The longer portion should be in front–that becomes the skirt. The shorter portion is behind and will become the bust of the dress.
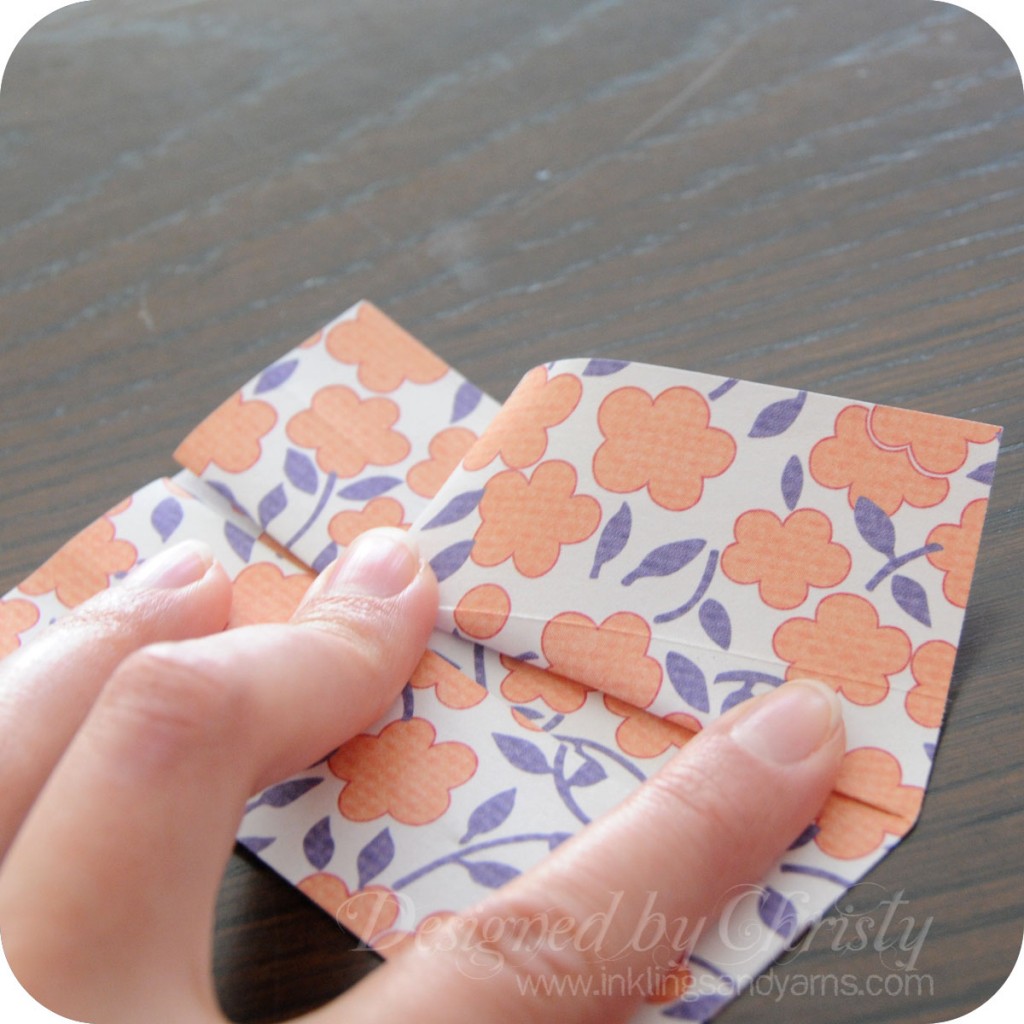
To open the pleats in the skirt, pull the bottom corner until the fold is completely open at the bottom. I use my middle finger to anchor the top corner of the pleat, then use my index finger to press the new creases in the pleat and at the top of the skirt.
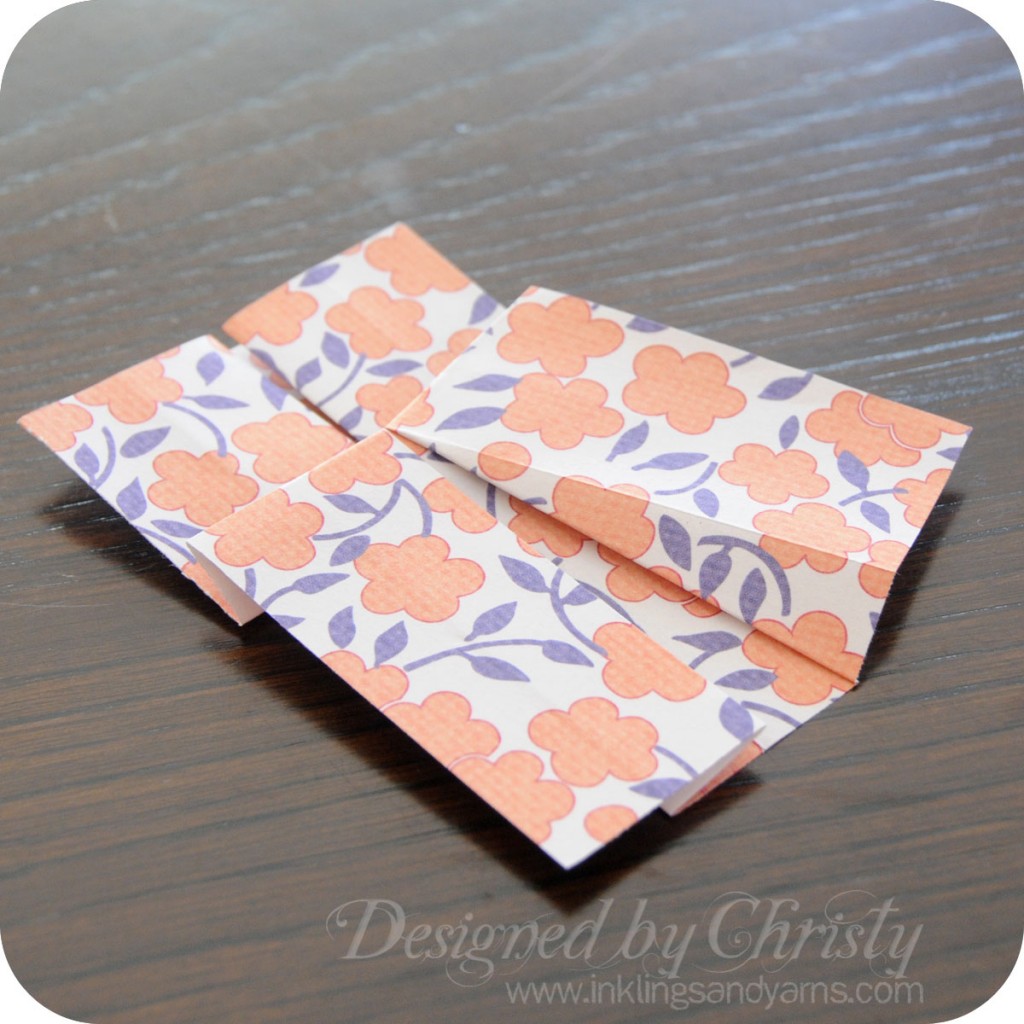
Note how the bottom quadrant now sits at an angle.
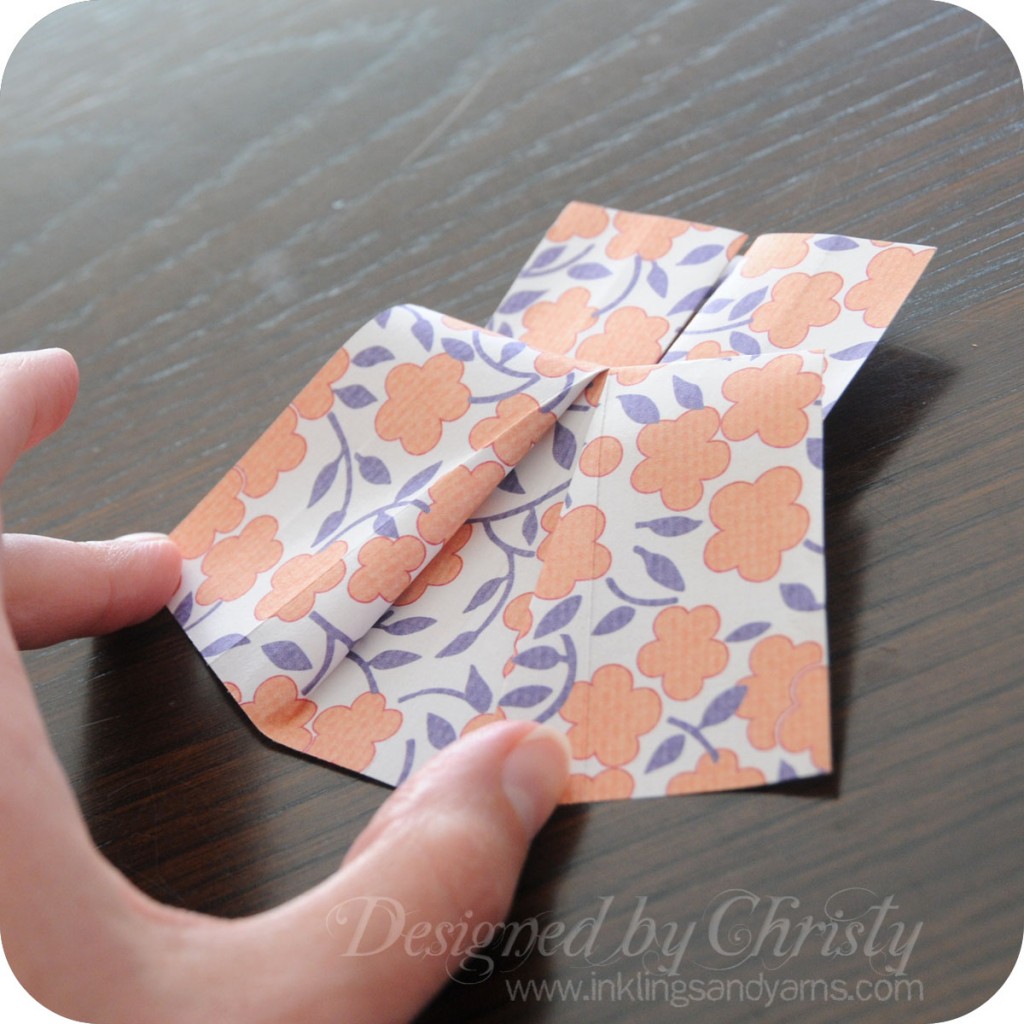
Repeat with the other side. Note that I spread the pleat as far as the paper will open.
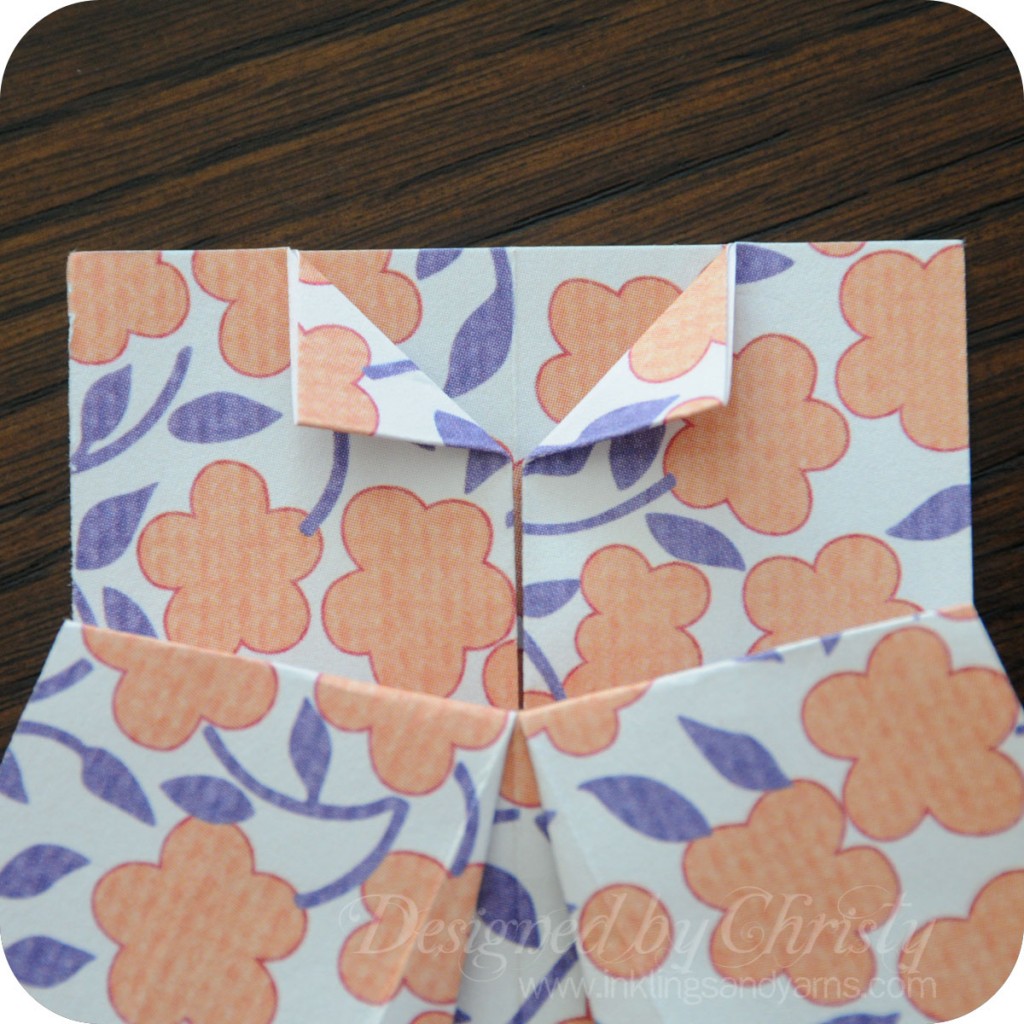
Next, create the creases for the neckline of the dress by folding the inner corners down at right angles. Be sure to create 2 even right triangles in this step, just like the picture above. The tops of the folds should meet the fold of the lower layer of the paper.
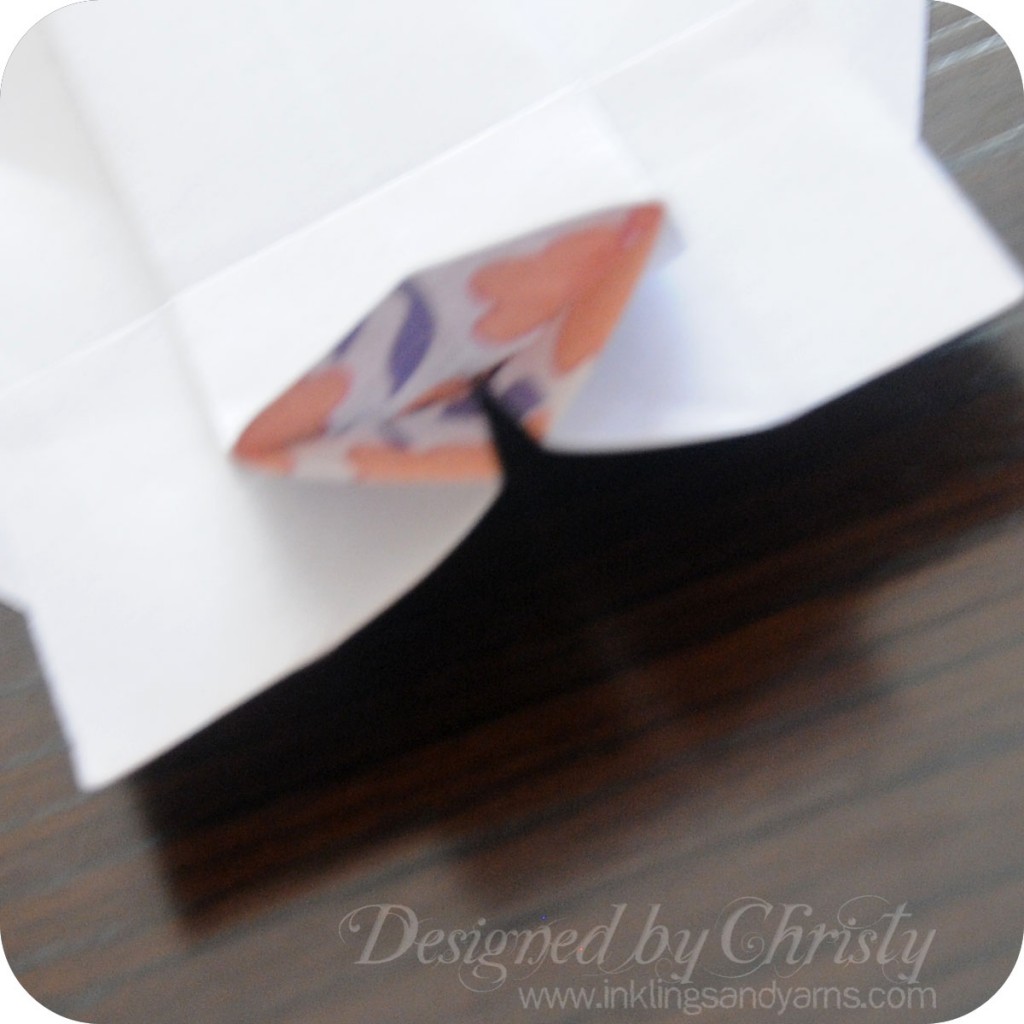
(Sorry about the blurry picture). Unfold the two neckline creases from the last step and turn your dress over. Pull back on the (now) top layer of paper. The creases you just made will allow you to open this portion into 3 neat triangles.
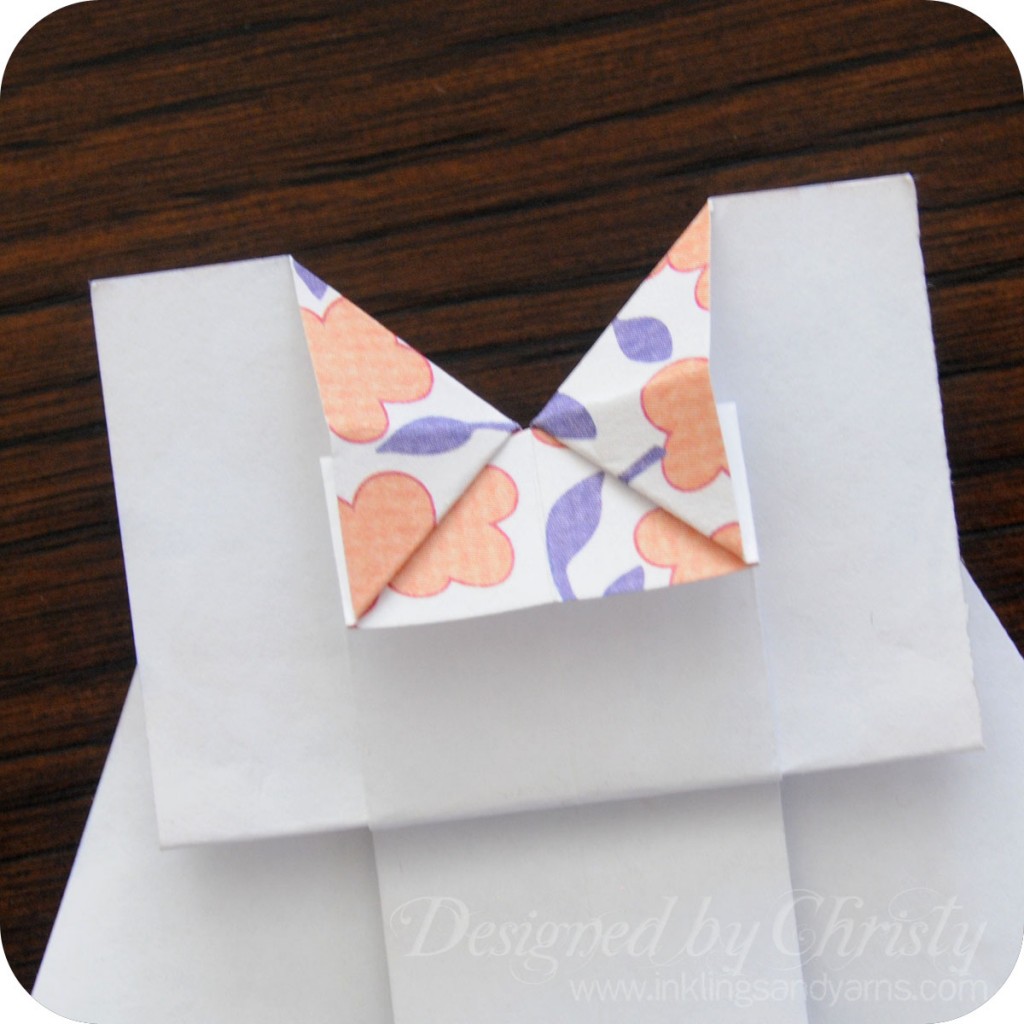
Press the fold so that the back of the neckline looks like this.
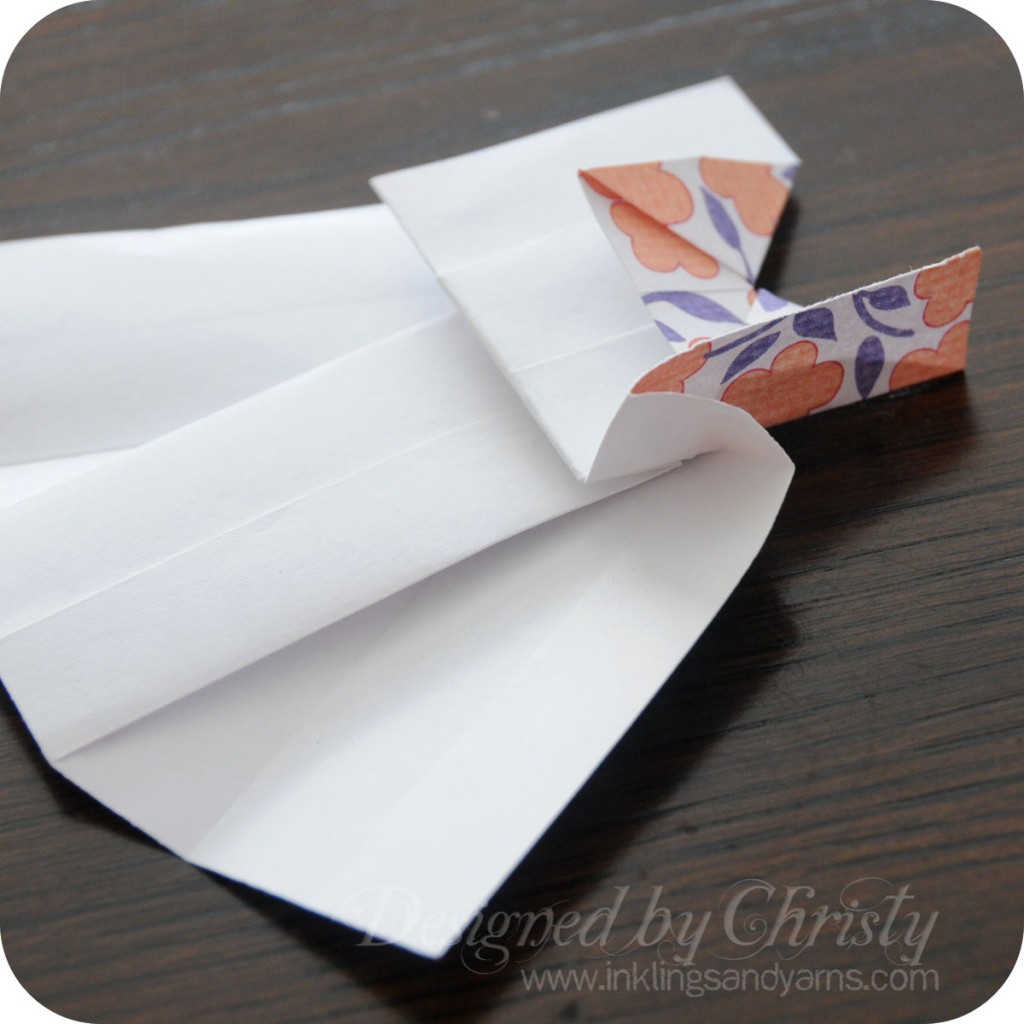
Start folding the sides of the dress top right up to the corner of the neckline you just created.
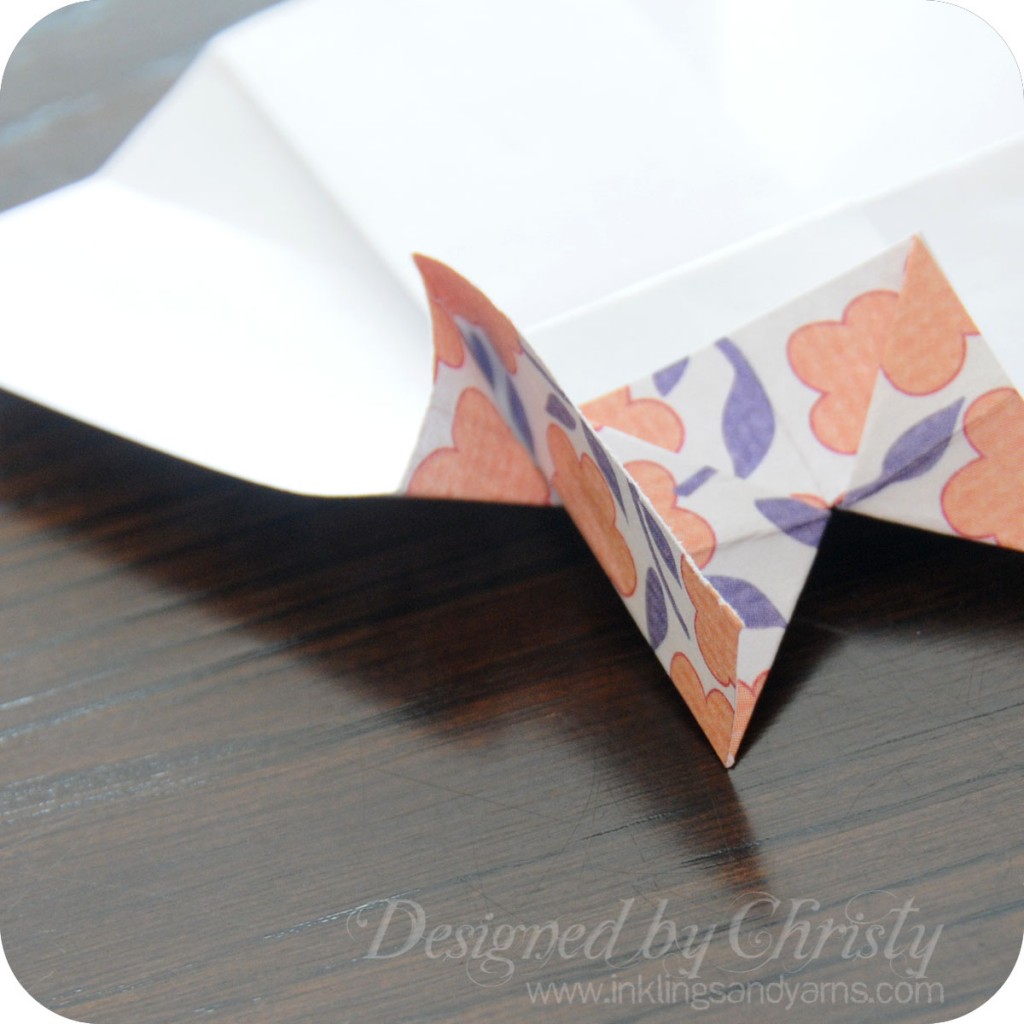
Here is another view so you can see you're folding all the way in. There's already a crease there for you.
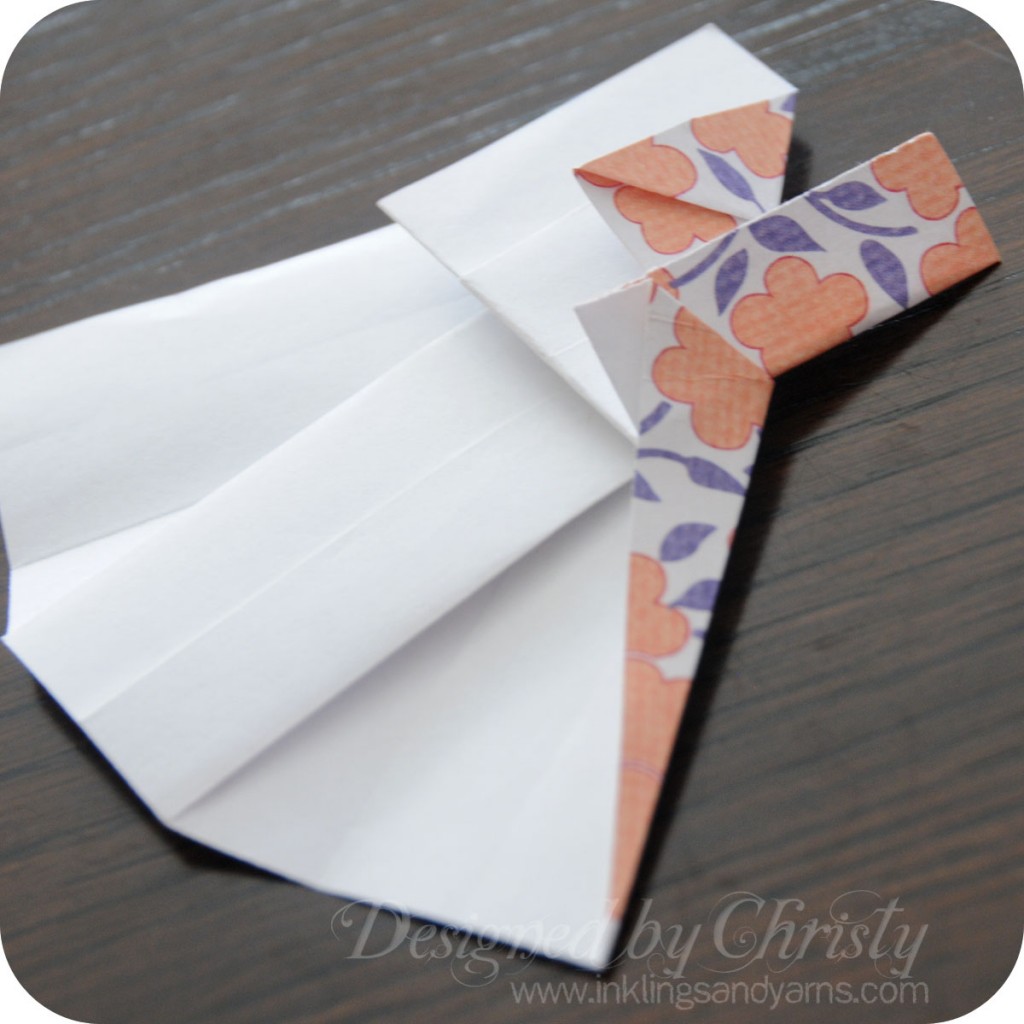
As you do this fold, you'll see the side of the skirt trying to curl in. Crease the skirt edge at an angle so that everything lays flat.
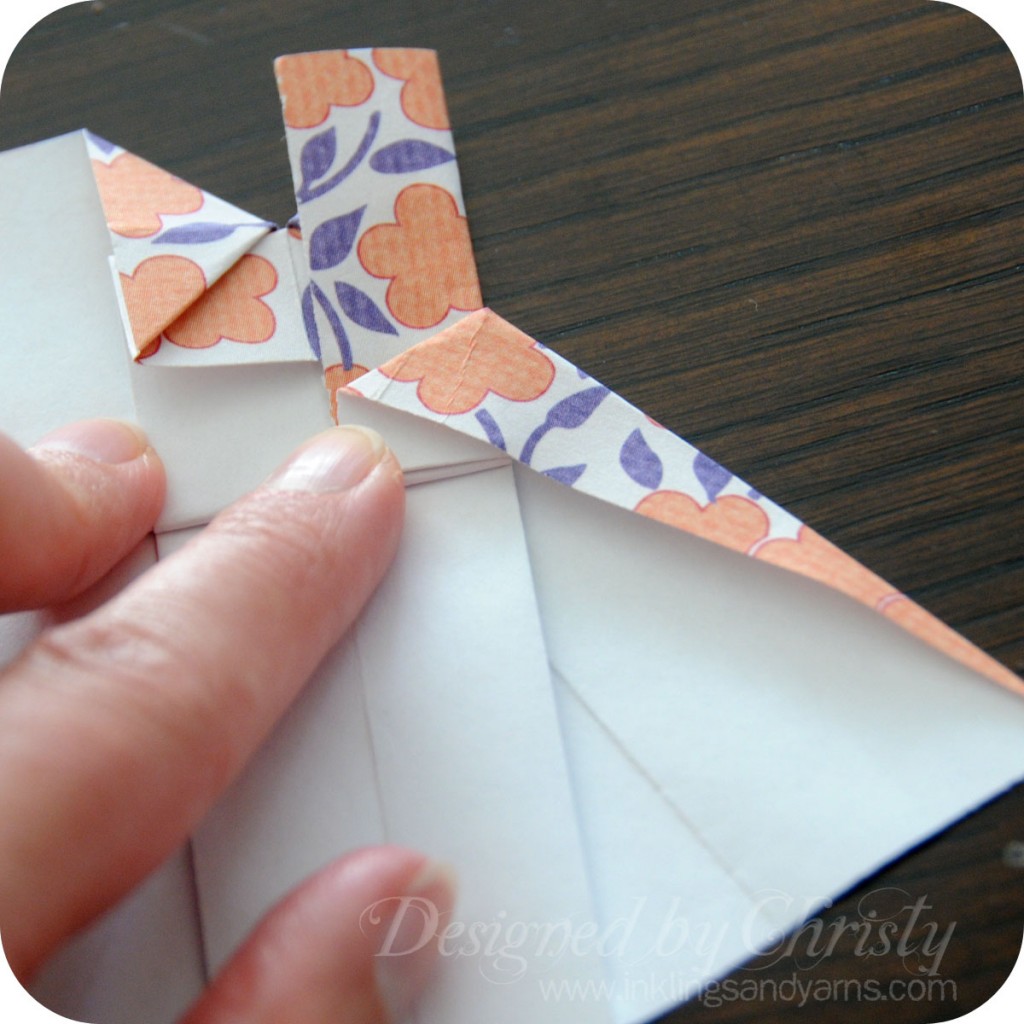
To do this, I press down on the middle of the skirt with one hand and use my other hand to smooth everything down from the top of the skirt to the bottom corner.
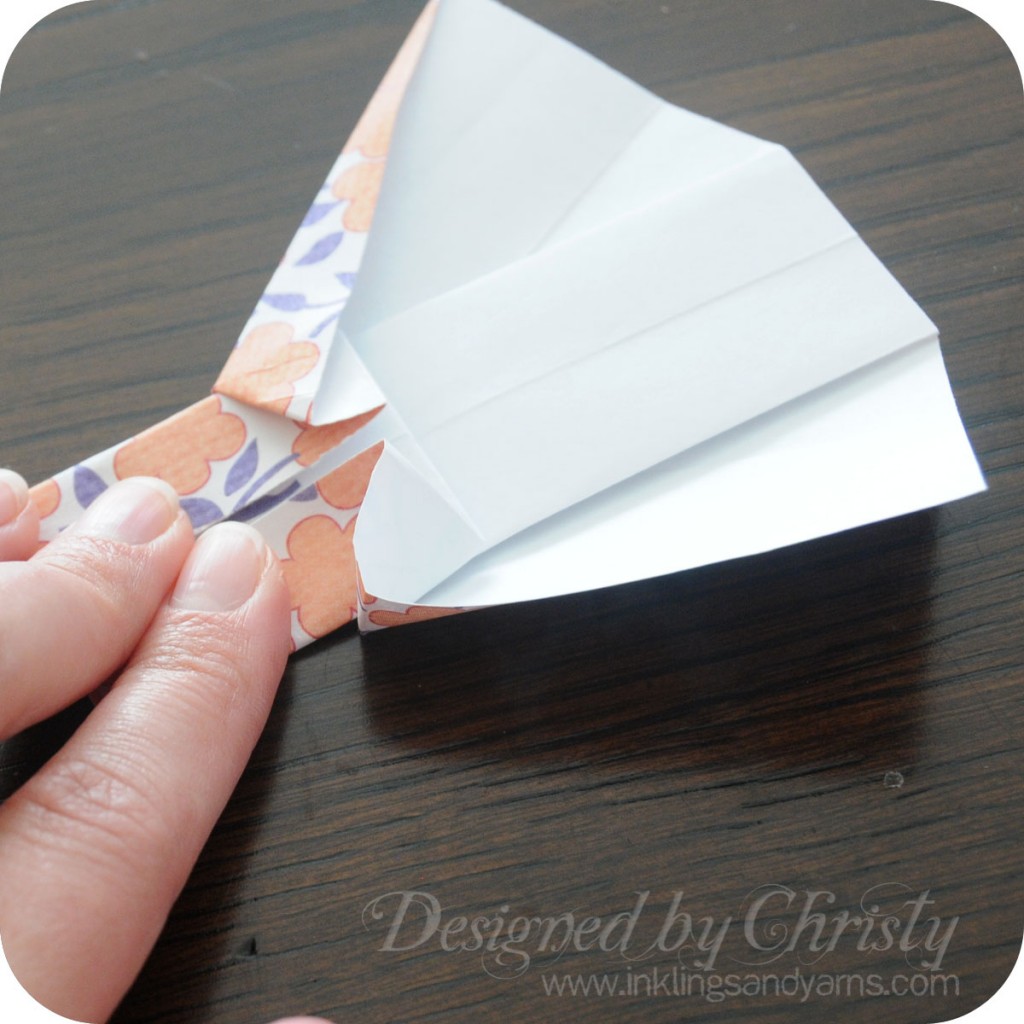
Repeat with the other side.
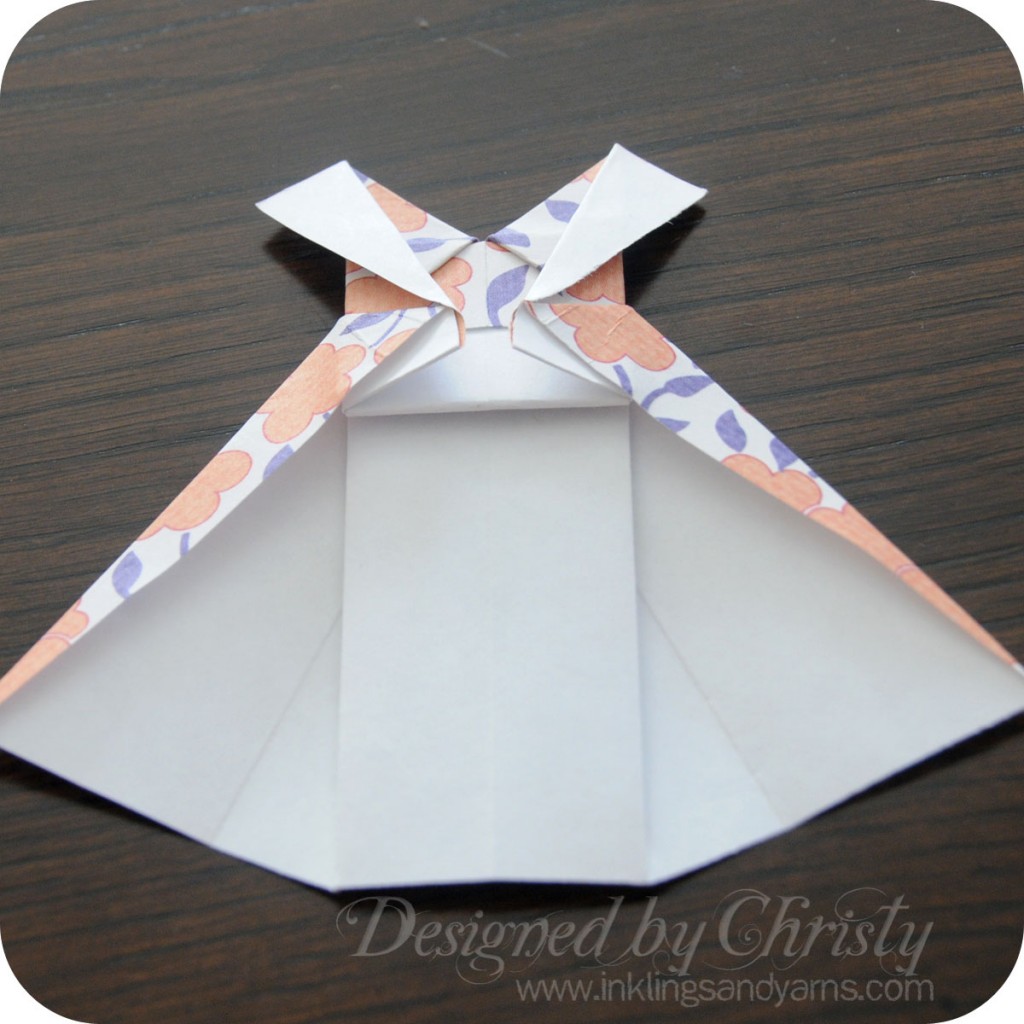
Finally, take those two flaps that you folded in at the top of the dress and fold them back at a deep angle.
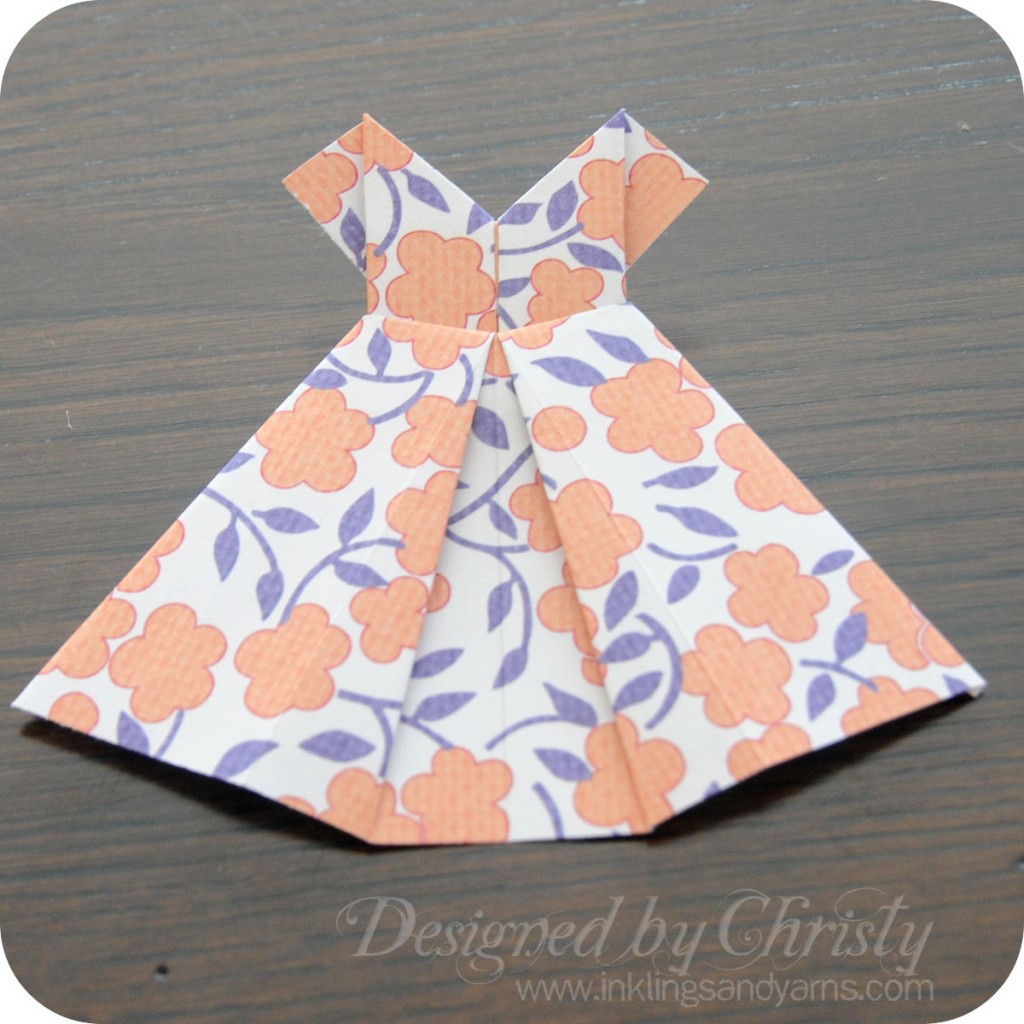
Turn it over, et voila! A cute little party dress with cap sleeves!
I hope you found this tutorial helpful. If you like it, please do me a favor and pin it!
How to Make a Origami Dress Step by Step
Source: http://www.inklingsandyarns.com/2012/06/origami-dress-tutorial/
0 Response to "How to Make a Origami Dress Step by Step"
Post a Comment