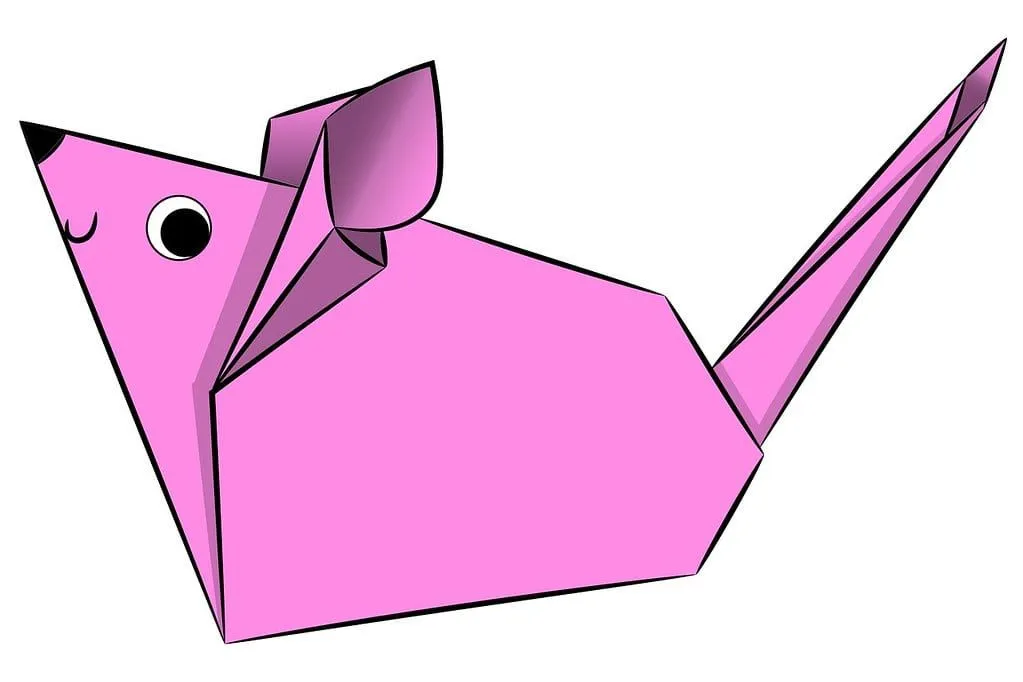
How to Make Origami Mouse Face
Coming from the Japanese words ori (folding) and kami (paper), origami is the craft of folding paper to make sculptures.
Origami has been a tradition in many other cultures too, including in China where paper lanterns and other decorations are made as part of Chinese New Year celebrations. Our easy origami guide for an adorable paper mouse is suitable for kids and requires just one sheet of square origami paper and a flat surface to make.
So as it is the year of the rat let's follow our simple origami instructions on folding an origami mouse that, unlike the real thing, won't nibble or squeak!
Make An Origami Mouse
With your sheet of origami paper pattern side down, point it diagonally so it is the shape of a diamond. Fold the sheet in half horizontally, creasing well and then unfold it. Next, fold in half vertically, make a crease and unfold again so that you are left with a cross-crease.
Take the bottom two edges and fold them to the centre crease. If you are using thick paper, leave a small gap between the two edges and then unfold.
Now, take the top two edges and fold them to the centre crease. Again, leave a small gap between them if needed.
On the now created flap on the right-hand side, pull the inside corner up whilst at the same time, push the lower right side. Repeat this step for the left-hand side.
Rotate your structure 90 degrees anti-clockwise and fold the two small flaps to the vertical crease, one on top of the other and then fold them both to the right-hand side of the crease. These will later become the ears of your origami mouse.

Take the right corner of your sculpture and fold it to the point where the two diagonal crease lines meet on the left-hand side of the vertical crease. Then, unfold this flap and fold it behind the structure.
Turn your origami over onto the other side. Take the top right and bottom right corners and fold these to the centre crease.
Next, from the top, fold your paper in half, flattening the flaps inside. The top right corner will be the nose of your mouse.
Fold the left corner, which becomes the tail, diagonally and down to the right, lining the right edge with the crease you created earlier. Bring the tail back over to the left, making a new crease at the same angle as the left edge.
Flip your origami mouse over. If you want your mouse to have a flat tail, make sure that the bottom edge of the mouse and the tail align at this point.
Use an inside reverse fold to open out the tail and fold the back of the body inside before bringing the tail back out. Then, fold the remaining part of the tail underneath your mouse.
Finishing Touches
To finish your origami mouse, you need to fold its ears. Fold each one back and then use a pencil or other thin, cylindrical object to open the ears out. Push on each ear with your thumb to give them a rounded shape.
Finally, use coloured pens or pencils to give your origami mouse eyes and whiskers.

Variations
Now you know how to make an origami mouse, you can make variations to the design. You can make them bigger or smaller, angle their tail and ears differently, and you can fold the lower section of your origami mice inside so that they look straight ahead rather than up. You can even change the colour or pattern of your creation so that you end up with a colourful nest of paper mice. Have fun!
How to Make Origami Mouse Face
Source: https://kidadl.com/articles/how-to-make-an-origami-mouse-easy-how-to-guide
0 Response to "How to Make Origami Mouse Face"
Post a Comment